Here goes the other infill kit from St James Bay. This is the no. 51 smoother rough casting. You can order just the casting, or a kit. I got the kit, but did not order an adjuster just yet. For me, this is going to be both fun and challenging. When you have a raw casting, you have no reference planes to work with. You need to establish them yourself. There is flash and the mold texture that all needs to be worked out as well.
 |
| The sole. The repair was not a surprise, Bob informed me about that on the phone. Any flaws in the castings are repaired at the foundry using the TIG process and silicone bronze filler rod. |
 |
| There's lots of mold flash on the raw casting. I've done casting before, and this is pretty typical, so again...no surprises. Looking back to my high school days, a piece like this would have been a lot of fun to try out in our foundry. We had a small aluminum foundry and made our own sand molds. Aluminum wouldn't be heavy or durable enough, but fun none the less. |
 |
| A view from the front. The rainbow is from the repair on the sole. That will disappear as I work the casting. |
 |
| The iron, already hollow ground and flat. Nicely made. |
 |
| The other bits. Lever cap, cap screw, pin, pad, and assembly screw. |
 |
| The back iron. If I was going to find something to be critical about it would be that the back iron is sort of thin. It is well made and functional though. |
 |
| Side view of the iron and back iron. |
 |
| Back to the task at hand...Most of the flash and the sprue removed. |
 |
| The weld repair to the bottom is mostly removed. I'm going to run it on the belt sander to get it flat. At this point I'm not aiming for a final finish on the bottom though. I just want to get it flat enough to reference the bottom of the plane to begin the machine operations. |
 |
| The bottom of the lever cap, machined flat. |
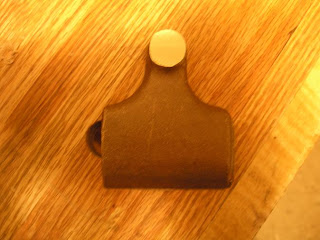 |
| I machined the top most portion of the cap as well. I still need to locate the hole for the cap screw. |
 |
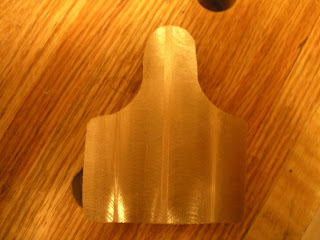
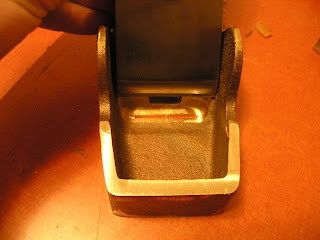
| Here I have started the work of machining the body. The front around where the bun will be is finished, along with the bed. The mouth has been pierced, and needs to be opened. |
 |
| A front shot of the bed. I only machined part of the two bronze supports. This casting is meant for a 45 degree bed angle, I'm going for 55. The mouth would be moved back farther than I wanted if I ran the bed all the way up the supports. As it is, the handle infill will support the iron above the line. |
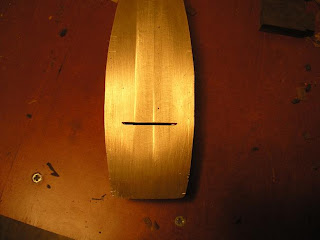 |
| Initial piercing of the mouth. This was achieved by machining from the other side to establish the bed angle. |
 |
| To fit the iron, I will need to file away some more of the casting where the corners of the iron are touching. |
 |
| The darkened area is what needs to be machined away to open the mouth. I'll take that out with a 1/8" end mill, and finish with a file. The bed requires final flattening still, and that will be done once the mouth is nearing completion. |
 |
| I milled away some of the material immediately in front of the mouth. Test fitting the iron shows that there is still some filing to be done to fit it width-wise. |
 |
| Some blue dye and scribe marks to ensure I keep the mouth square and uniform. |
 |
| The inside is almost done. I'm down to the last bit of filing. I have to admit, that precision filing is not one of my strong points. I'm taking it slow in hopes that I don't mess anything up at this point. |
 |
| It's starting to look like a plane. I need to order the Norris adjuster and size up the rear tote. The lever cap and body need to be drilled for the cross pin. |
 |
| I got ahead of myself with the lever cap. In order to fit properly, the sides need to be cut on an angle, thus making the lever cap wider at the top than at the bottom. I should have drilled the cross pin hole before doing the angles. The advantage of the lay out lines and blue dye, is that I was able to realign the cap into the vise to punch the hole. Not as perfect as I would have wanted, but it's only off by a hair, and I can make the necessary adjustments. Here, I started the hole with a 1/4" end mill to ensure a straight start. |
 |
| Then I put a 1/4" drill bit in the collet and finished the hole. |
 |
| Locating the cross pin hole in the body was an eyeball operation. Using the flats that are milled into the sides, I got the plane clamped up square. I bored the first hole with and end mill, then switched to a regular drill and piloted through the first hole. I followed the holes in the body and the lever cap with a reamer, and everything slips together nicely. This should be the end of all the machine operations. The rest of the work is on the wood infill and sanding the casting. |
.jpg) |
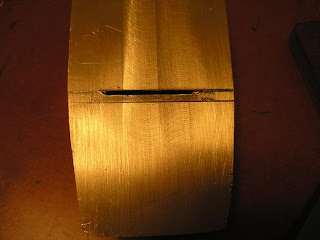
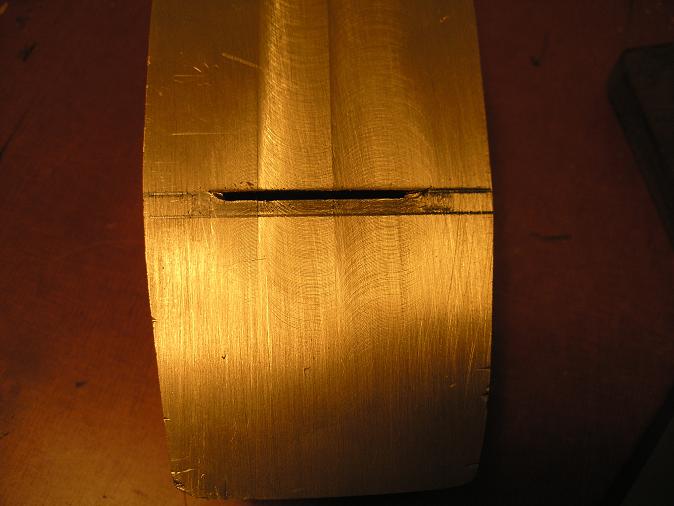
| I am opening up the handle slot to a full inch. Here, using a 3/4" end mill, I machined each side of the casting. For whatever reason, when I first machined the casting, I had a step at the bottom. That is now gone, the handle will be a full 1" width all the way down. You can see the step in the picture before this one. |
.jpg) |
| Handle slot done, and the angle on the heel is cut. I eyeballed the angle. It doesn't matter much since I can cut the handle to fit. |
.jpg) |
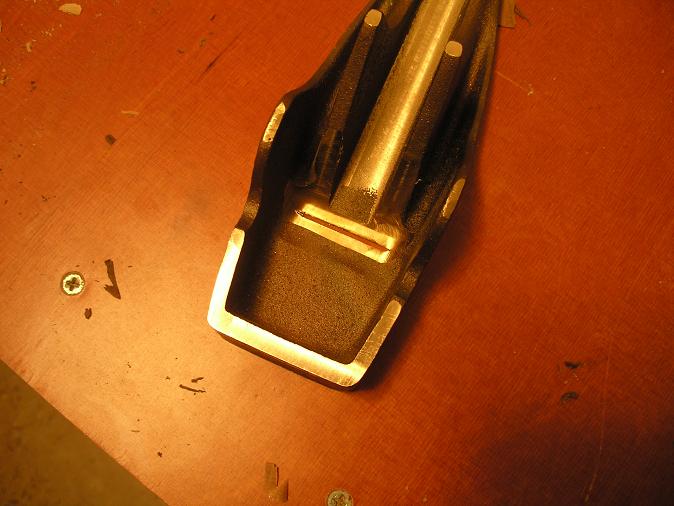
| Another change. I had originally machined the housing for a 55 degree bed angle. This meant that the blade would have little contact with the housing and would have to rely mostly on the handle. I brought the angle down to 50 degrees, and the bed now extends all the way up the casting. I'm glad I did this, it would seem that when I machined the bed initially, I was slightly out of flat. |
.jpg) |
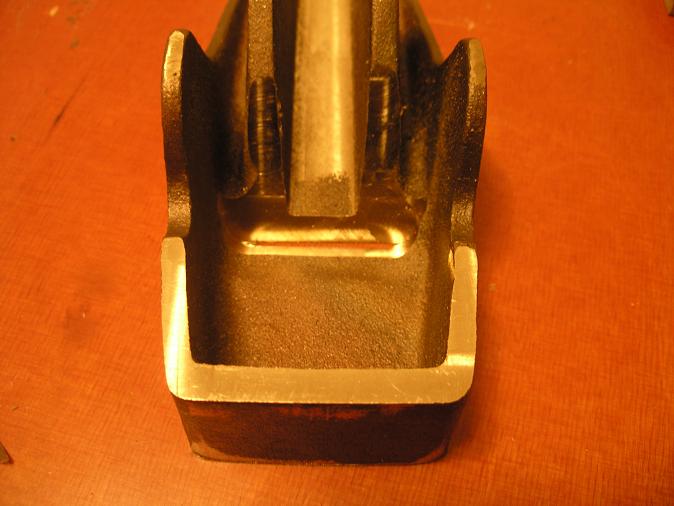
| Using a file to work on the corners of the mouth. |
.jpg) |
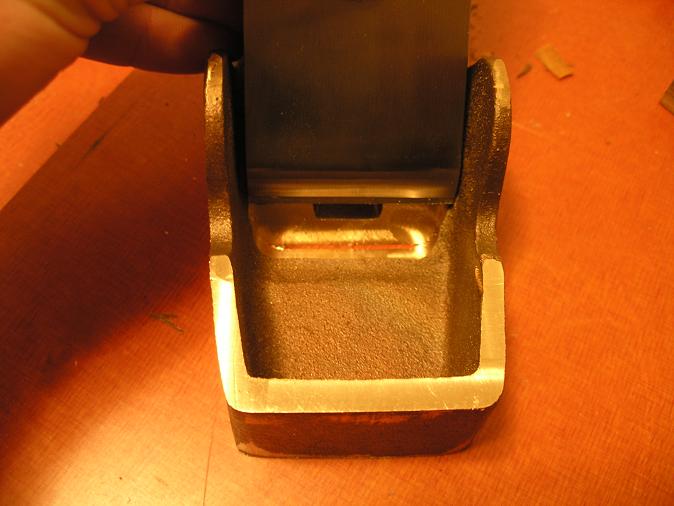
| Not the best picture in the world, but hey...I'm not a photographer. This is the "safe" side of the file. I removed the teeth on this side so that I could work adjacently to a surface that I don't want to file. I was able to run this side on the bed, while using the sides of the file to open up the corners of the mouth. |
.jpg) |
| The mouth is about 95% done at this point. Those final tweaks will wait til the plane is ready for a test cut. |
.jpg) |
| If I sharpened the iron, I could probably take a shaving. Redoing the bed means the iron has a larger bedding surface. Since the machine work is done at this point, I started sanding the casting. |
.jpg) |
| The handle blank is cocobolo. I left it somewhat large on the bottom and front to give me some leeway. The bottom and bedding surface will get cut once I have the adjuster. |


.jpg)
.jpg)
.jpg)
.jpg)
.jpg)
.jpg)
.jpg)
.jpg)
No comments:
Post a Comment